| |
| |
| |
How to install PostgreSQL on Windows step-by-step |
| |
| Although PostgreSQL was initially developed for UNIX-like platforms, version 7.1 has created a version that |
| can be compiled, installed and run on Windows operating systems. In this article we will see how to install PostgreSQL |
| in a Windows environment. |
| With version 14.1, PostgreSQL made available a native version for Windows with an installer for both the client and the server, |
| while before version 8.0 Windows users were forced to install additional software to support some features present only on based |
| systems on UNIX. |
| At the time of writing this article (March 2022) PostgreSQL has released version 14.2 |
| |
Step 1: |
| |
Use the Windows installer |
| |
| Open the page of the official PostgreSQL site:http://www.postgresql.org |
| |
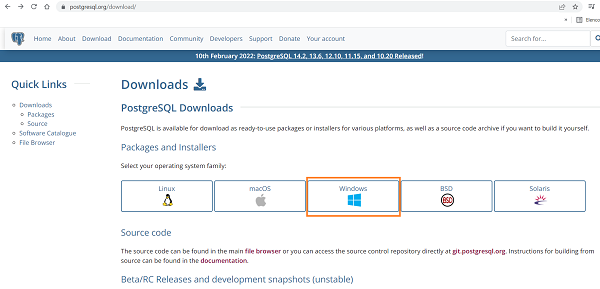 |
| | | Click on Windows. |
| |
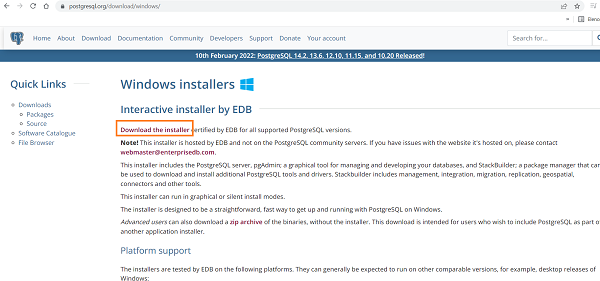 |
| | | Click on Download the installer from EnterpriseDB for all supported versions, which opens the page http://www.enterprisedb.com/products-services-training/pgdownload#windows |
| |
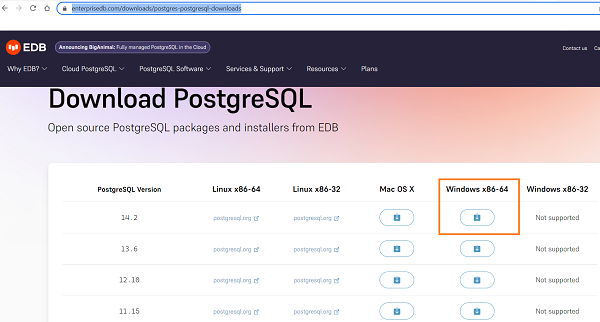 |
| | | Click on the button labeled Win x86-64 if you have a 64-bit operating system. The postgresql14.2-1-windows-x64.exe file of about 288 Mb is downloaded. |
| |
Step 2: |
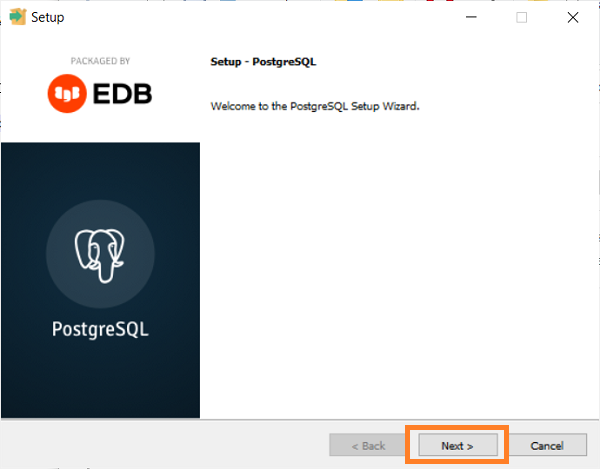
| Double-click the postgresql-14.2-1-windows-x64.exe file to start the installation |
| Click Next at the welcome window. |
| |
 |
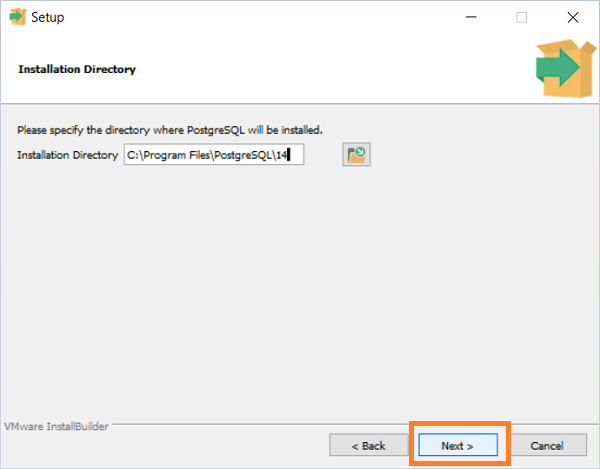
| | | Specify the installation directory. That proposed is: C:\Program Files\PostgreSQL\14 |
| |
 |
| | | Select the component you want to install |
| |
 |
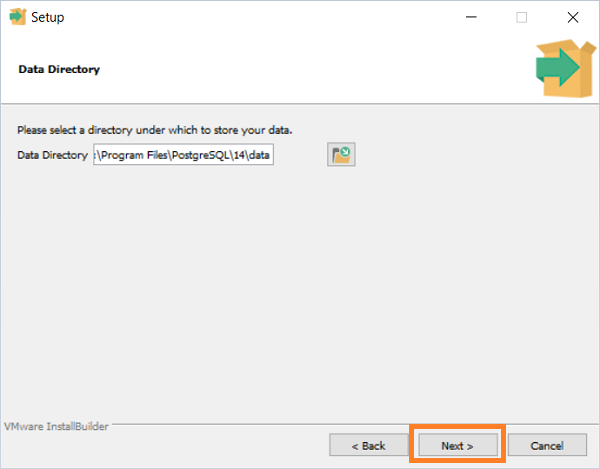
| | | Specify the directory where the data will be saved: C:\Program Files\PostgreSQL\14\data |
| |
 |
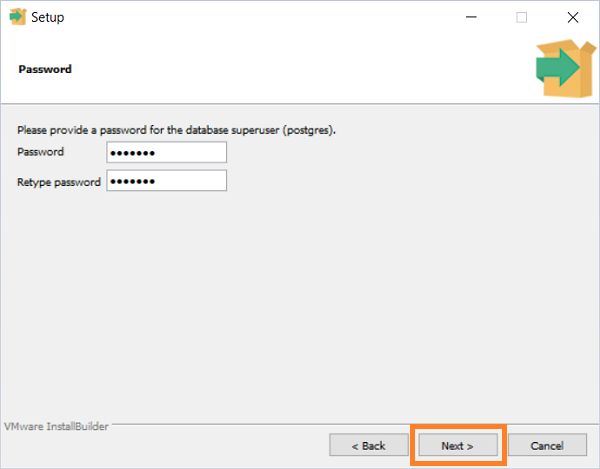
| | | Specify the password of the superuser user. The superuser user is a database user who has permissions to create and manage databases on the server. |
| PostgreSQL accounts are used by clients to connect to the database and PostgreSQL itself manages the authentication. |
| |
 |
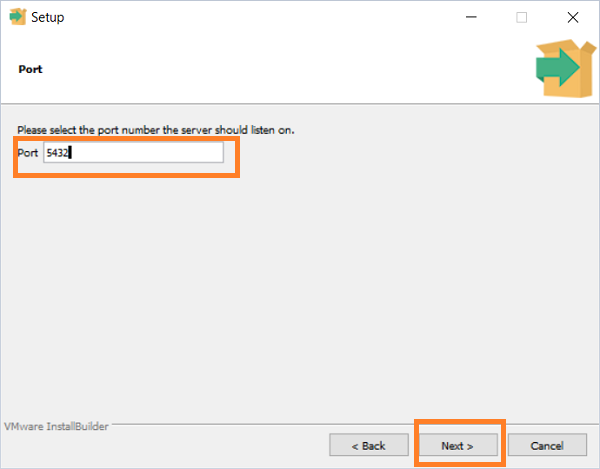
| | | Select the port the server is listening on. The default is 5432. |
| |
 |
| | | Select the locale configuration used by the database. |
| |
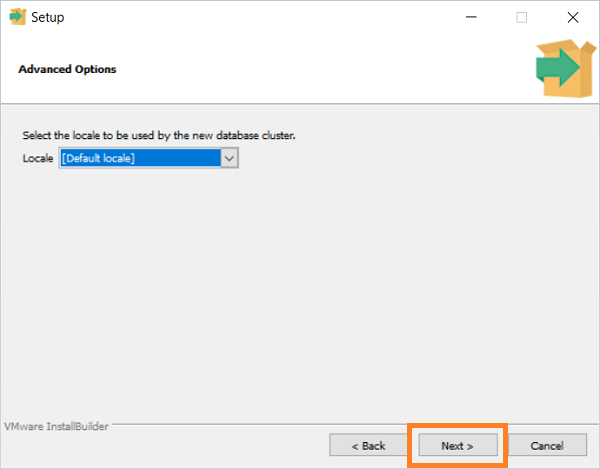 |
| | | Click Next |
| |
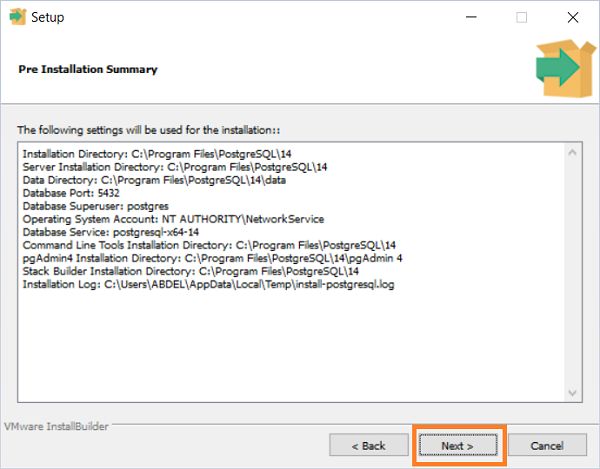 |
| | | Click Next |
| |
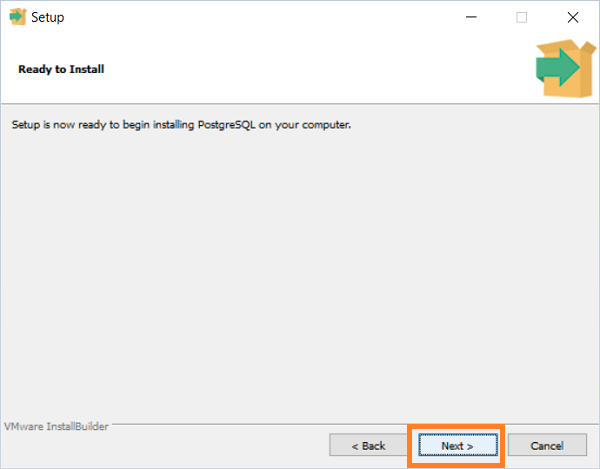 |
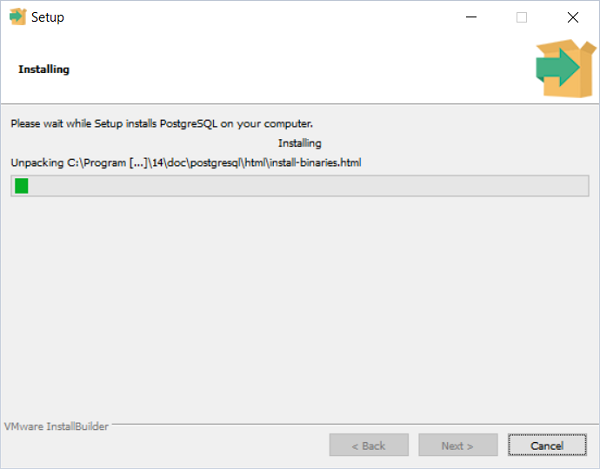
| | | Wait for the installation to be completed. |
| |
 |
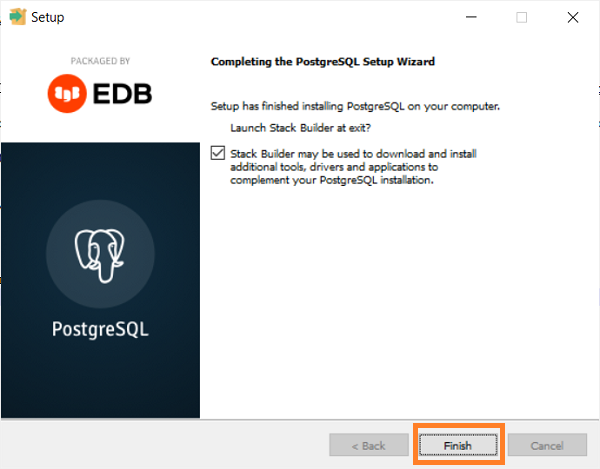
| | | Remove the check mark on the use of StackBuilder, which is used to download and install additional tools, drivers and applications with |
| respect to the default PostgreSQL installation. PostGIS is one of them, for example. |
| |
 |
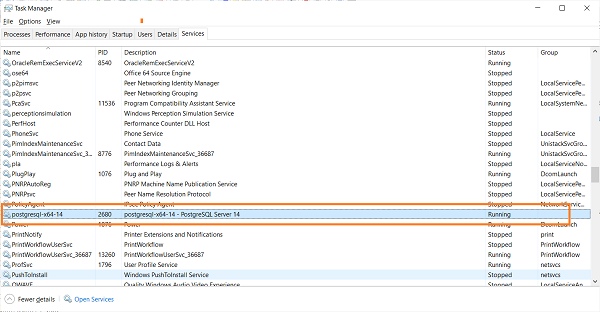
| | | PostgreSQL is created as a Windows service, which is automatically launched when Windows starts. |
| |
 |
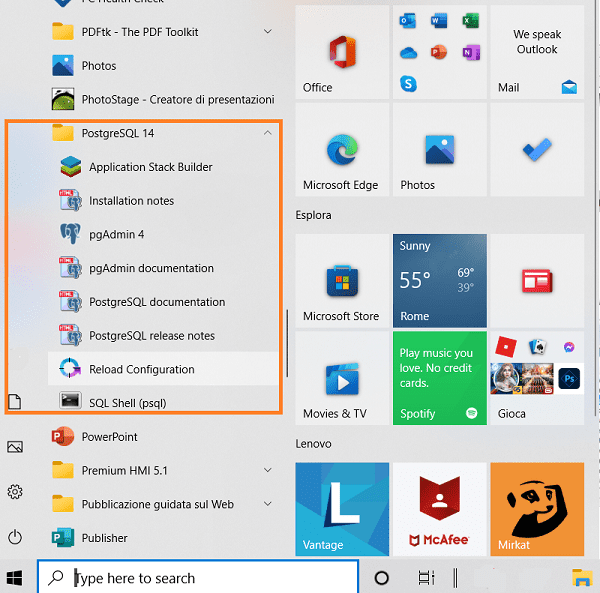
| | | The PostgreSQL 14 folder is created in the Windows Start menu programs. |
| |
 |
| | | |
Step 3: |
| |
Connect to the PostgreSQL database with pgAdmin 4 |
| |
| Opening the Windows Start menu, under PostgreSQL 14, there are the following entries: |
|
| Application Stack Builder |
| Installation notes |
| pgAdmin 4 |
| pgAdmin Documentation |
| postgresSQL Documentation |
| postgresSQL release notes |
| Reload Configuration |
| SQL Shell |
|
| Click on pgAdmin 4 to launch the graphical client for accessing the database. |
| |
 |
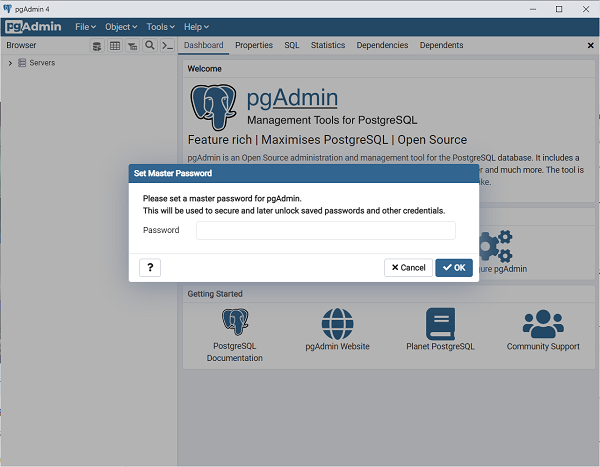
| | | Enter the password chosen in the installation step |
| |
 |
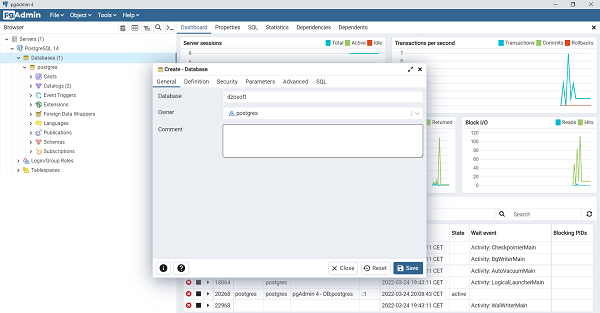
| | | Right click to create your database |
| |
 |
| | | in the folder C:\Program Files\PostgreSQL\14\doc you will find documentation to deepen the learning of the database |
| Enjoy |
|


 EN
EN 
 Español - ES
  Français - FR


