| |
| |
| |
How to install SQLite on Windows? |
| |
|
| |
Step 1:
|
| Download SQLite tools from the page of SQLite https://www.sqlite.org/download.html
|
| SQLite provides various tools for working across platforms e.g., Windows, Linux, and Mac. You need to select an appropriate version to download.
|
| For example, to work with SQLite on Windows, you download the command-line shell program as shown in the screenshot below.
|
| |
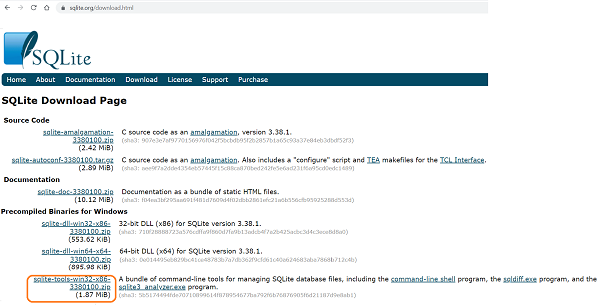 |
| | | The downloaded file is in the ZIP format and its size is quite small.
|
| |
Step 2:
|
| |
Run SQLite tools
|
| |
|
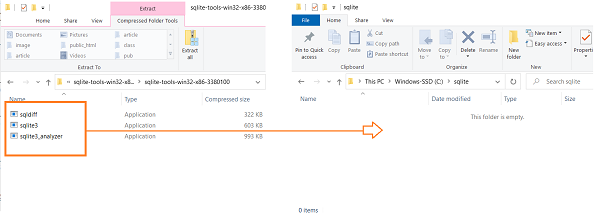
| Create a new folder e.g., C:\sqlite.
|
| Extract the content of the file that you downloaded in the previous section to the C:\sqlite folder.
|
|
|
| |
 |
| | | |
Step 2:
|
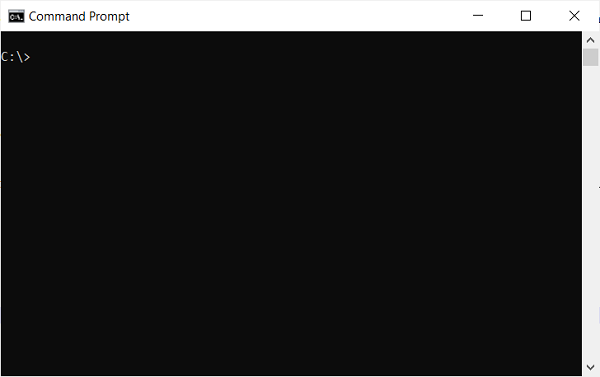
| Open the command line window:
|
| |
 |
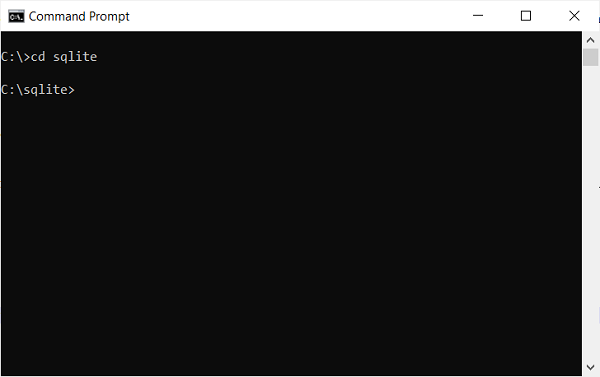
| | | Go to the C:\sqlite folder.
|
| |
 |
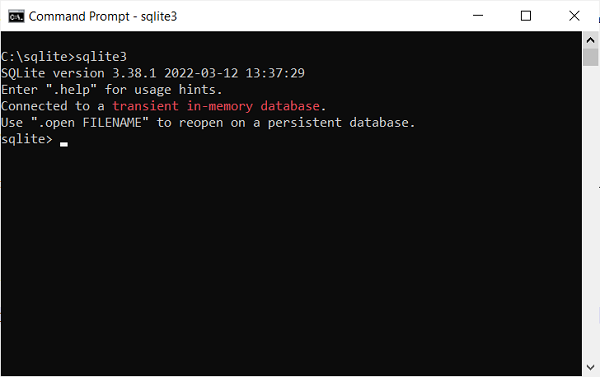
| | | Type sqlite3 and press enter, you should see the following output:
|
| |
 |
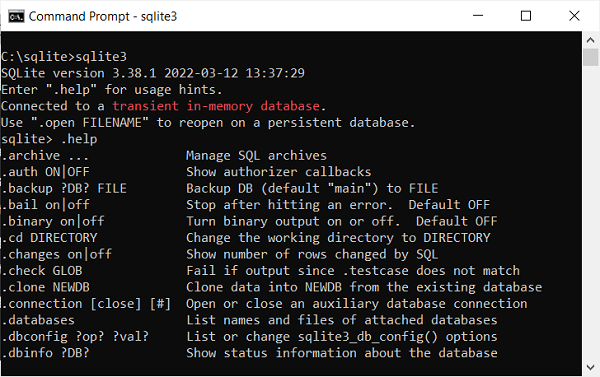
| | | For the help type the .help command from the sqlite> prompt to see all available commands in sqlite3.
|
| |
 |
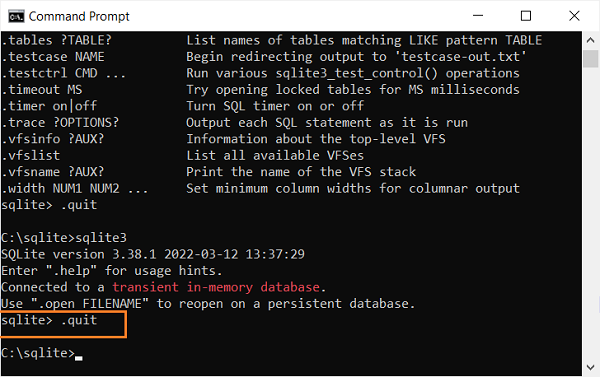
| | | Type .quit to quit the sqlite
|
| |
 |
| | | |
Step 3:
|
| |
Install SQLite GUI tool
|
| |
| There are many GUI tools for managing SQLite databases available ranging from freeware to commercial licenses.
|
| |
1-SQLiteStudio
|
| |
| The SQLiteStudio tool is a free GUI tool for managing SQLite databases. It is free, portable, intuitive, and cross-platform. SQLite tool also provides some of the most
|
| important features to work with SQLite databases such as importing, exporting data in various formats including CSV, XML, and JSON.
|
| Go to https://sqlitestudio.pl to download SQLiteStudio, Then you can extract (or install) the download file to a folder e.g., C:\sqlite\gui\ and launch it.
|
| |
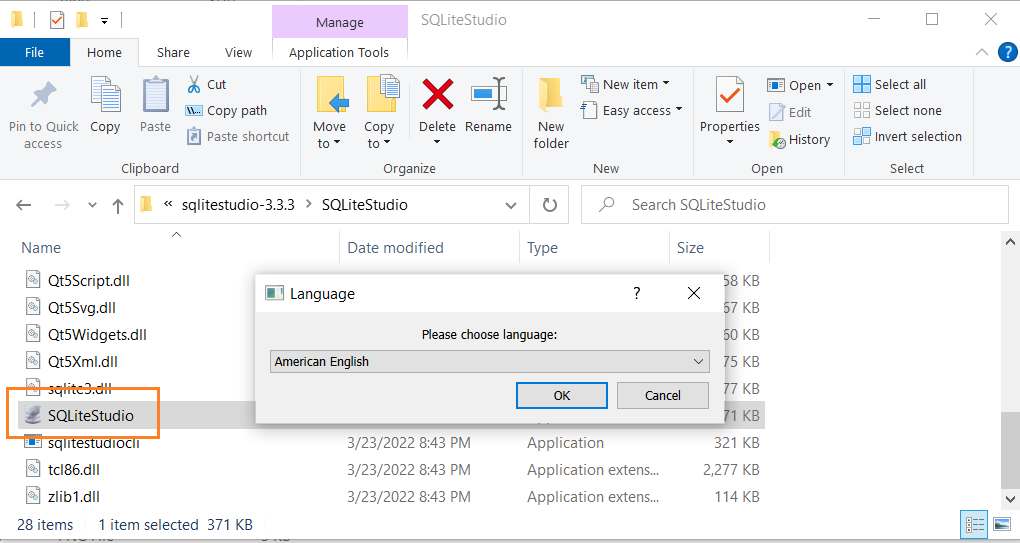 |
| | | Choose the language and press OK, you should see the following picture
|
| |
 |
| | | |
Other SQLite GUI tools
|
| |
|
| DBeaver is another free multi-platform database tool. It supports all popular major relational database systems MySQL, PostgreSQL, Oracle, DB2, SQL Server, Sybase..
|
| including SQLite.
|
|
| DB Browser for SQLite – is an open-source tool to manage database files compatible with SQLite.
|
|
|
| Now, you should be ready to work with SQLite |


 EN
EN 
 Español - ES
  Français - FR


